05 сен 2018 00:11:00
Hello MAS!!!
It's me again! Today I thought I'd share a re-paint I did of the Overwatch Collector's edition statue of Soldier 76. I actually completed this a few weeks ago, but being out for vacation and work kicking my butt has just delayed my ability to get my pics uploaded and a coherent blog (I hope) put together. :D
To start out and give a little back story... I am new to painting. I do not do commissions and I've only done one garage kit ever and also hand-painted a prior Soldier 76 statue for a friend (and it was free and a surprise just in case it turned out shitty).

If you're interested, .
Well I felt my friend's 76 statue turned out pretty decent (not the best, but I was pretty happy with it) and that got me interested in more projects like that. So, my darling better half ended up getting me an airbrush kit for Christmas along with a paint box (it lets you vent out the fumes from the airbrush). This led to me buying and eventually completing my very first garage kit, Makishima Shogo.


And if you want to see or you can .
So....that led me to eventually picking up a few more kits and I also had plans to do a custom Tomoe figure using a bootleg Shinsuke figure (https://myfigurecollection.net/item/287834 - and I went bootleg because I already own the real deal and would never be able to bring myself to destroy a REAL Shinsuke...I love him WAYYY too much!):


Well needless to say I have gotten around to deconstructing the base Shinsuke figure (so I can remodel the head and paint it all up), but that's as far as I got....and all my other projects were just waiting in the wing. So, lots to do on my end...and I'm slow...because I'm new to all this, so I have enough stuff lined up to last me quite a while (i.e. just my own "wishful" to-do list).
Well it's about that time when I had someone reach out to me on Reddit. They had seen the Soldier 76 repaint I did for my friend and wanted to know if they could commission me to paint an Overwatch figure for them. So, of course I was initially like... "HELL NO!!!"!!! First of all, I am no pro and secondly I have too much to do for myself!!! BUT...then I found out they were the Overwatch League Champions (like "the" champions) and they wanted a figure painted in their team's colors. Well....I don't play Overwatch currently, but I did for a tiny bit with my friends a while ago so am familiar with the game and enjoy the characters, plus I am a big Blizzard fan regardless, so after a bit of back and forth I finally agreed and we worked out the details.
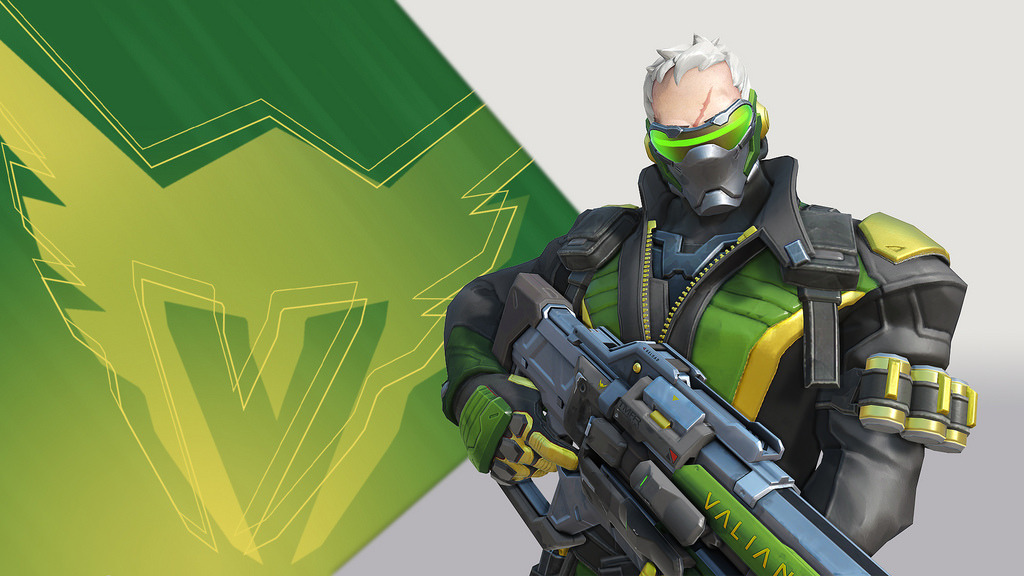
They ended up deciding to use another Collector's edition figure of the Soldier 76. Yay!! I've done that one before so know what to expect! So...they procured a figure and mailed it to me. So bronze Soldier 76 need to be converted into LA Valiant Soldier 76!!
The rest will just be me sharing some of the WIP and final pics of the process. I actually think garage kits are way easier as the resin is easier to start painting on and the fact that they are not assembled so can be painted in parts, makes things easier.....so I found this more difficult than the GK I painted and it required WAYYYY more masking...but painting with an airbrush gives you such a beautiful finish and it dries super fast, so that helped me make up some time.
Anyway...that's the story, the rest are the pics (expand the spoiler tags to see more pics, as I didn't' want to kill people's PC's here)!!!
First I had to sand, wash, and prime the figure to prepare him for airbrushing!

**Click to see more WIP pictures**
Now...I was somewhat at a loss on how to BEST to tackle this with the airbrush...i.e. what part to do first to make it easier on myself, etc... So, I'm pretty sure not all my decisions resulted in the BEST order to do this in, but that just meant more work on myself. :D

**Click to see more WIP pictures**
Now time to start on the hair, more skin, and finish out the final touches...which involved a lot of experimenting in the silvers of the gun and all that. I played around with a few options before finally landing on something I liked, as I wanted to make sure the gun had blacks, bright silvers, and a darker silver color as well to add some more depth...

**Click to see more WIP pictures**
I used the trick I learned from Ponnie to help me do the visor and add their logo to the gun (i.e. using a lacquer layer of gloss so you can paint over it without messing up the undercoats). I also found that this gloss layer can help get a really smooth surface as well and helps to protect layers of paint. So after fixing the visor and such I sprayed a layer on various parts of the figure, as I'd also use that to help add sheen to areas I didn't want to end up Matte (as my final step was to mask off the glossy areas and spray a matte finishing coat over the whole figure):


**Click to see more WIP pictures**
And, here is the final view!!!


**Click to see mroe pics of the final repaint!**

And that's it!! I hope you saw or read something you enjoyed!! Thanks for checking out my blog out MAS, catch you later!!!
Stacy
It's me again! Today I thought I'd share a re-paint I did of the Overwatch Collector's edition statue of Soldier 76. I actually completed this a few weeks ago, but being out for vacation and work kicking my butt has just delayed my ability to get my pics uploaded and a coherent blog (I hope) put together. :D
To start out and give a little back story... I am new to painting. I do not do commissions and I've only done one garage kit ever and also hand-painted a prior Soldier 76 statue for a friend (and it was free and a surprise just in case it turned out shitty).
If you're interested, .
Well I felt my friend's 76 statue turned out pretty decent (not the best, but I was pretty happy with it) and that got me interested in more projects like that. So, my darling better half ended up getting me an airbrush kit for Christmas along with a paint box (it lets you vent out the fumes from the airbrush). This led to me buying and eventually completing my very first garage kit, Makishima Shogo.
And if you want to see or you can .
So....that led me to eventually picking up a few more kits and I also had plans to do a custom Tomoe figure using a bootleg Shinsuke figure (https://myfigurecollection.net/item/287834 - and I went bootleg because I already own the real deal and would never be able to bring myself to destroy a REAL Shinsuke...I love him WAYYY too much!):
Well needless to say I have gotten around to deconstructing the base Shinsuke figure (so I can remodel the head and paint it all up), but that's as far as I got....and all my other projects were just waiting in the wing. So, lots to do on my end...and I'm slow...because I'm new to all this, so I have enough stuff lined up to last me quite a while (i.e. just my own "wishful" to-do list).
Well it's about that time when I had someone reach out to me on Reddit. They had seen the Soldier 76 repaint I did for my friend and wanted to know if they could commission me to paint an Overwatch figure for them. So, of course I was initially like... "HELL NO!!!"!!! First of all, I am no pro and secondly I have too much to do for myself!!! BUT...then I found out they were the Overwatch League Champions (like "the" champions) and they wanted a figure painted in their team's colors. Well....I don't play Overwatch currently, but I did for a tiny bit with my friends a while ago so am familiar with the game and enjoy the characters, plus I am a big Blizzard fan regardless, so after a bit of back and forth I finally agreed and we worked out the details.
They ended up deciding to use another Collector's edition figure of the Soldier 76. Yay!! I've done that one before so know what to expect! So...they procured a figure and mailed it to me. So bronze Soldier 76 need to be converted into LA Valiant Soldier 76!!
The rest will just be me sharing some of the WIP and final pics of the process. I actually think garage kits are way easier as the resin is easier to start painting on and the fact that they are not assembled so can be painted in parts, makes things easier.....so I found this more difficult than the GK I painted and it required WAYYYY more masking...but painting with an airbrush gives you such a beautiful finish and it dries super fast, so that helped me make up some time.
Anyway...that's the story, the rest are the pics (expand the spoiler tags to see more pics, as I didn't' want to kill people's PC's here)!!!
First I had to sand, wash, and prime the figure to prepare him for airbrushing!
**Click to see more WIP pictures**


Now...I was somewhat at a loss on how to BEST to tackle this with the airbrush...i.e. what part to do first to make it easier on myself, etc... So, I'm pretty sure not all my decisions resulted in the BEST order to do this in, but that just meant more work on myself. :D
**Click to see more WIP pictures**


Now time to start on the hair, more skin, and finish out the final touches...which involved a lot of experimenting in the silvers of the gun and all that. I played around with a few options before finally landing on something I liked, as I wanted to make sure the gun had blacks, bright silvers, and a darker silver color as well to add some more depth...
**Click to see more WIP pictures**


I used the trick I learned from Ponnie to help me do the visor and add their logo to the gun (i.e. using a lacquer layer of gloss so you can paint over it without messing up the undercoats). I also found that this gloss layer can help get a really smooth surface as well and helps to protect layers of paint. So after fixing the visor and such I sprayed a layer on various parts of the figure, as I'd also use that to help add sheen to areas I didn't want to end up Matte (as my final step was to mask off the glossy areas and spray a matte finishing coat over the whole figure):
**Click to see more WIP pictures**


And, here is the final view!!!
**Click to see mroe pics of the final repaint!**


And that's it!! I hope you saw or read something you enjoyed!! Thanks for checking out my blog out MAS, catch you later!!!
Stacy